It uses very little power. And it didn’t really cost anything except my time.
OK, so arguably this means it was not actually cheap at all. But it might be if we figure out how to make it easier. This guide is an attempt to start with this learning process by recording what I have learned building it.
Turning a phone into a server
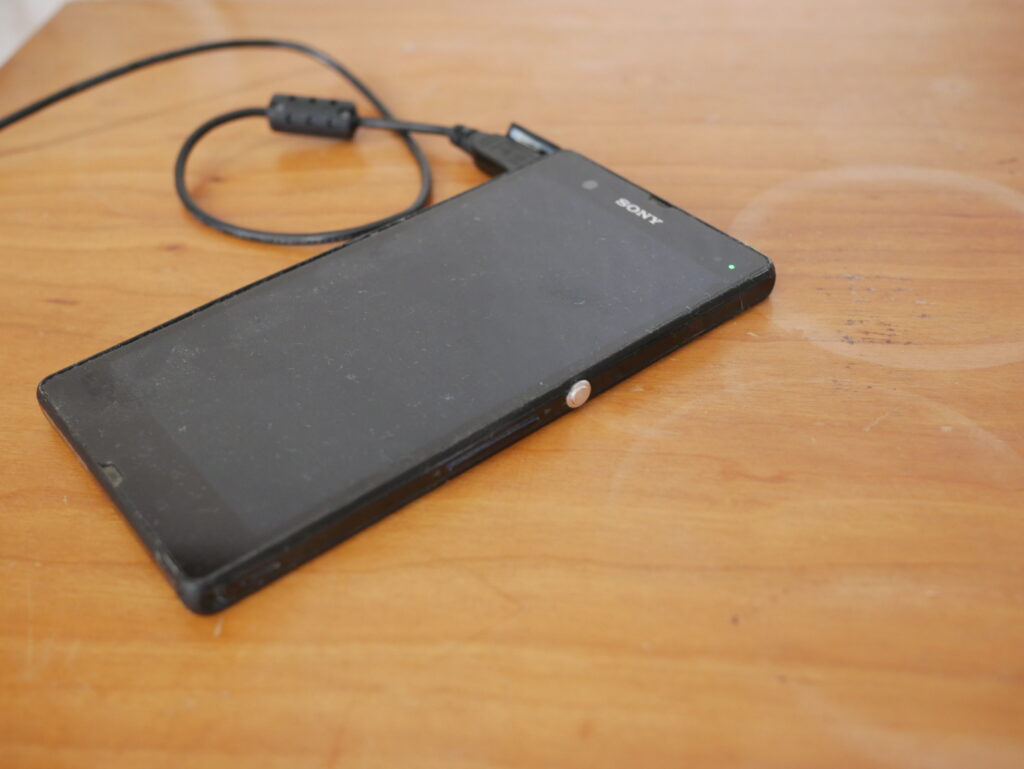
I had this old smartphone lying around. Sony Xperia Z — a flagship phone from 2013 that I had bought used in 2015, broke the glass back cover by trying to replace the battery (don’t try this if you’re as clumsy as me!) and lugged around the world until the touch screen reacted less and less (it seems completely useless now) and I had to replace it in 2017. It had always bothered me that this beautiful, broken thing was useless now. So I bought a USB OTG (on-the-go) cable and connected an old-fashioned mouse to it: behold — I could use it again — if only while it wasn’t charging.
What I am trying to say here is: if you have an old phone lying around or not — you can certainly get one from ebay or whereever for basically free and there are many ways in which these things can be broken as a phone but still work perfectly fine as a server.
From Android with love
I wanted to run a full node (well, a pruned full node — more about that later), and luckily, there is a great project producing an app that does this natively on Android — ABCore. So I tried that first. Unfortunately, there isn’t much documentation there, and the process is far from painless. For starters, on my phone, the app never acknowledged that bitcoind was actually running, though it did. It slowed down the entire phone brutally. And inspecting the logs for what might be the problem was a drag — slow and riddled with strange errors — “wrong password” and such. Worst of all I couldn’t find out how to import a presynced blockchain because I couldn’t find/access the directories where ABCore stores its blockchain. So I let it sync for about 6 weeks only to notice it seemed to slow to a crawl at about 28% of the blockchain. And I couldn’t find out why! There had to be a better way!
We need a proper Linux here
Turns out there are many ways of running Linux on an Android phone — after all, Android is just a Linux variant itself. I tried and really liked Termux, because it doesn’t need a rooted phone, it seems quite mature and is itself a basis for many similar projects. It also has an API which lets you control all the fancy phone hardware — though I haven’t used that so far.
But best of all, is supports the wonderful PRoot package. Its official description is “Emulate chroot, bind mount and binfmtmisc for non-root users”. What this means, though, feels really magical to me: It gives you a pseudo root server running pretty much any linux distro you’d like — there are ready-made images available from Arch to Alpine. So I got myself a pretty standard Ubuntu root shell (rather minimal, and on armv7l, of course) — mind you, running inside Termux, inside Android, on a non-rooted Phone!
From there, it’s not such a long way to a (pruned) bitcoin full node, garnished with Tor and Electrum Personal Server.
Give me the How-To!
OK, so you need to get Termux (from the Google app store, e.g.), then in Termux install openssh and run sshd, as detailed here. You might also want to give Termux a wakelock directly from the notification it is displaying in Android. (Update: Yes, you should do that. I got System call interrupted failures from my bitcoind after a while without the wakelock) From now on, no need to touch the server anymore. Work comfortably from your laptop!
To make things even more agreeable, I have discovered Mosh (mobile shell), a fantastic tool (also available on Termux, of course) that converts your fallible ssh connection into something that is much quicker and survives any network change, putting your laptop to sleep and so on! Optional, but highly recommended!
Also optional, but highly recommended, and working perfectly in tandem with Mosh is tmux, a brilliant screen replacement that allows you to have multiple tabs open inside your ssh/mosh-session and simply reattach to this session if you ever get disconnected (even though that never happens with Mosh — but you might choose to connect from a different device — no problem).
pkg install tmux
Using tmux properly is an art and takes some learning, so there are many introductions (even a book) available. Find your own path!
Once you’re most comfortably logged into Termux and have as many shells open and persisted as you need, you can now follow this quick howto to get an Ubuntu root shell. Now you could probably easily compile your own bitcoind, but there are even binaries available at Bitcoin Core for Arm 32bit! Just
wget https://bitcoin.org/bin/bitcoin-core-0.18.0/bitcoin-0.18.0-arm-linux-gnueabihf.tar.gz
then verify (don’t trust) as described there,
tar xzvf bitcoin-0.18.0-arm-linux-gnueabihf.tar.gz
and you are ready to run bitcoind (it’s in the bin subdirectory)! I had a problem directly wgetting from Termux, because their wget version seems not to support https. So either do it from inside Ubuntu or scp it from your laptop like me.
That’s the first milestone, your full node should be running now! It also should be running out of space pretty quickly if you haven’t used something like
bitcoind -prune=550
This is the minimum allowed pruning size. It aims at 550 MB of historical blocks, but it sometimes overshoots quite a bit. Also, and I guess that might have been the problem with my ABCore trials, I had forgotten that a pruned node does NOT just need the specified storage for the blocks it keeps, but in any case it also needs to store the entire UTXO set, which is a little over 3GB at the moment. So if you’re like me you might need to clean up your old phone a bit. Or try adding an SD card. You can find explanations for how to mount that in Termux, but I haven’t tried. (Update: I’ll say more about that in another article.)
Now that I have a full node, what can I do with it?
This would probably also be the only way to use your newly running full node for backing a Lightning client, as I originally planned to. Both clighting and LND have started supporting pruned nodes in principle, but at the moment they both only work with channels that have been opened during the time that you have non-pruned blocks for. At 550 MB, this is maybe three days. Not very useful. Adding a large SD card might help here, 128GB would probably get you beyond the Lightning advent block in early 2018. But it appears people are working on adding support for small pruned nodes as well. In keeping with my “free, as in beer” philosophy, I’ll wait until either this happens or an SD card comes my way. Update: I’ve gotten a high endurance 128GB flash card and got LND working now. More details in another writeup.
Syncing and configuring your full node is next. My phone was syncing at about 7% a day, but I was impatient, so I just synced and pruned the node I had on my laptop, and copied the blocks and chainstate directories over to the phone (after shutting down both nodes). You might have to delete any wallets that were created if you had started bitcoind before, lest the new node complains that the wallet was created too early and you have to resync. Voila — a fully synced fullnode!
How to disappear completely
I like Tor, so I tried following this guide. Interestingly, Termux includes Tor, while ubuntu needs a special repo as per the Tor project. But I’m not sure if bitcoind, running in Ubuntu, can (at least automatically) control tor running in Termux, so I tried to follow the guides in Ubuntu. It seems, however, that ubuntu does not add a tor user. Nevertheless, in the end it appears to just work. Please let me know if you have found a more elegant way to do this.
Simply do in Termux:
pkg install tor
Then edit $PREFIX/etc/tor/torrc and add (or rather uncomment) the following lines:
ControlPort 9051
CookieAuthentication 1
CookieAuthFileGroupReadable 1
Now, edit .bitcoin/bitcoin.conf (in Ubuntu) and add these lines:
proxy=127.0.0.1:9050
listen=1
bind=127.0.0.1
Finally, start
tor
in Termux and restart
bitcoind
in Ubuntu. That should do it. When you see something like
tor: Got service ID XXXXXXXXXXX, advertising service XXXXXXXXXXX.onion:8333
appear in the bitcoind logs, you know it’s working and XXXXXXXXXXX is your new public tor address.
But what is it good for?
Well, aside from strengthening the bitcoin network, a full node allows you to use wallets that are secure and private. I wouldn’t necessarily recommend running the wallet itself on the phone. It might not be the most secure (it would still be a hot wallet, on an Android phone), and it certainly isn’t pretty to use (though some people might like cli wallets).
However, Electrum offers the best of all worlds. Relatively nice UI, supports hardware wallets and multisig (yes, even multisig of multiple hardware wallets!), and can be configured to only talk to our new humble full node via Electrum Personal Server (EPS). The howto there is relatively straightforward. Unless you want to add a wallet that already has a history (isn’t brand new). That turns out to be not directly possible with a pruned node, but Chris Belcher has already noted the issue and proposed a somewhat arduous workaround: “if you have an unpruned node you could rescan the wallet on it, and then copy over the wallet.dat file to your pruned node.”. I did that, it took quite some time. Then the EPS on the phone reimported my addresses and asked for another rescan! I still don’t know exactly why, but the same thing happened on my non-pruned node when I tried to restart EPS there. The fix seems to be to just do it once again. EPS -rescan (on the non-pruned node), EPS (without -rescan, on the non-pruned node), just to make sure it works, copy wallet.dat over to phone, EPS (on the phone).
And that, ladies and gentlemen, gives you a private and secure wallet backed by the cheapest bitcoin full node in the world!
Addendum: How not to trash your flash storage
As /u/RageTester pointed out on reddit, bitcoin nodes will write to disk quite a lot (new blocks and rewriting the UTXO set), which might endanger the flash media inside the phone in the medium to long term. I’ve found advice by Pieter Wuille that increasing dbcache (in bitcoin.conf, in MB, default 300, I set it to 1000) will decrease the rate of rewriting chainstate. However, with this setup, my node still writes a lot: One can get at least an upper bound of the bytes written by watching /proc/xxxx/io where xxxx is the PID of your bitcoind process. Find it by
ps ax | grep bitcoind
This seems to easily do a few Gigamegsbyte per day, so caveat emptor! I’m not sure if the flash inside my phone does wear leveling, but even with that, it’s probably not safe to expect it to be overwritten more than a few hundred times. So if you want this thing to last longer, it would be advisable to write blocks and chainstate to a larger and more modern micro SD card. Best would be MLC/endurance products which seem to do about 3k rewrites but are also much more expensive. Or even SLC, which gets you >10k but is absurdly expensive. But normal 3DNAND with wear leveling should already last quite some time when chosen large enough. Which should also make running a Lightning node possible … I’ll let you know when I get there.